Manual Alert
- 18 Nov 2025
- 2 Minutes to read
- Print
- DarkLight
- PDF
Manual Alert
- Updated on 18 Nov 2025
- 2 Minutes to read
- Print
- DarkLight
- PDF
Article summary
Did you find this summary helpful?
Thank you for your feedback!
To create and send manual alerts, users must have the
Messages_Send_GlobalAccess entitlement. This entitlement is granted to specific roles, including Owner, App Admin, Integrations Admin, and Send Message roles.Manual Alert in AlertOps
Overview
Use the Manual Alert feature to proactively trigger incident notifications within AlertOps. Whether it's a system outage, scheduled maintenance, or fast-moving incident, manual alerts let you notify the right people immediately—using customizable templates, escalation policies, and multi-channel alerts (email, SMS, voice, push, or chat).
Who Can Use Manual Alerts
Users need the Messages_Send_GlobalAccess entitlement to create and send manual alerts. This permission is granted to the following roles:
- Owner
- App Admin
- Integrations Admin
- Send Message role
Step-by-Step Guide
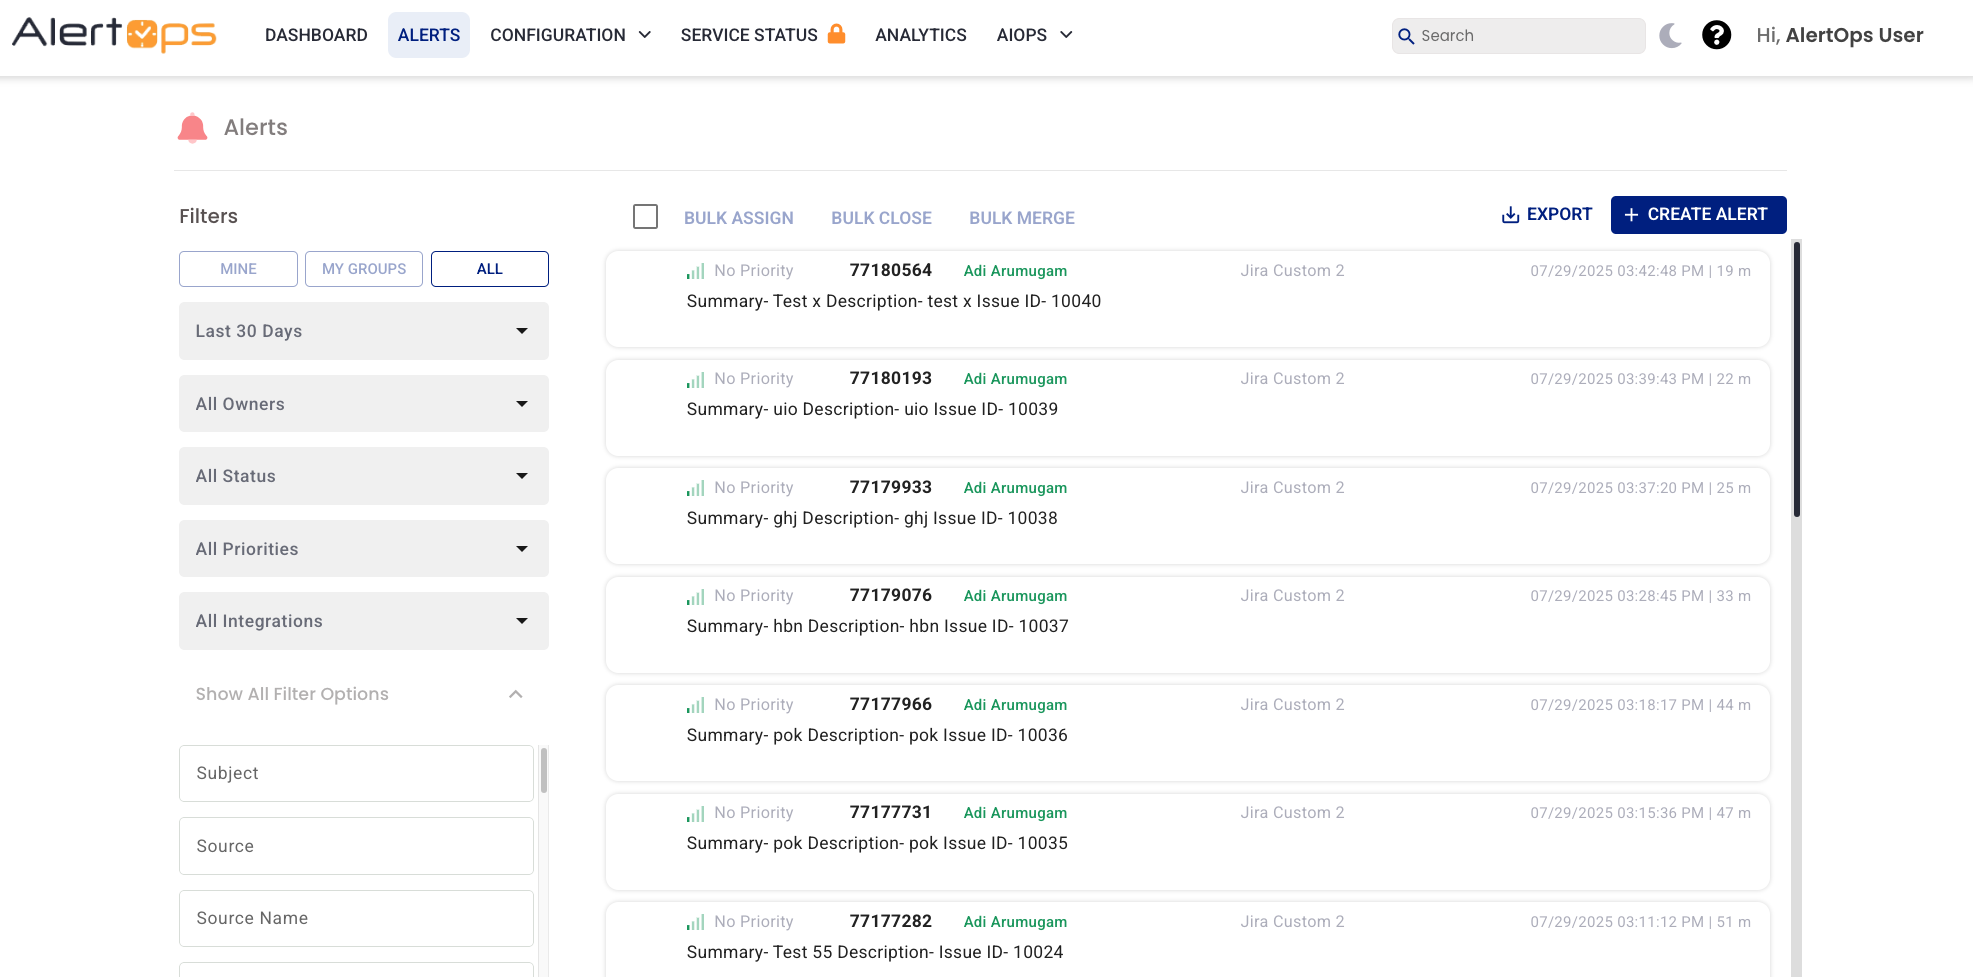
1. Initiate a Manual Alert
- Navigate to Alerts in the main menu.
- Click on the + Create Alert button to open the alert form.
.png)
2. Set Up the Alert
- Escalation Policy: Choose from your configured policies. Note: any escalation policy to be used in manual alerting must have "Quick Launch" enabled as shown above.
- Topic (template): Select a pre-defined template to streamline the content and recipient selection.
- Recipients: Add individual users or groups. Topics may auto-populate group recipients.
- Subject & Description: Provide context for the alert. Optionally save the alert as a draft.
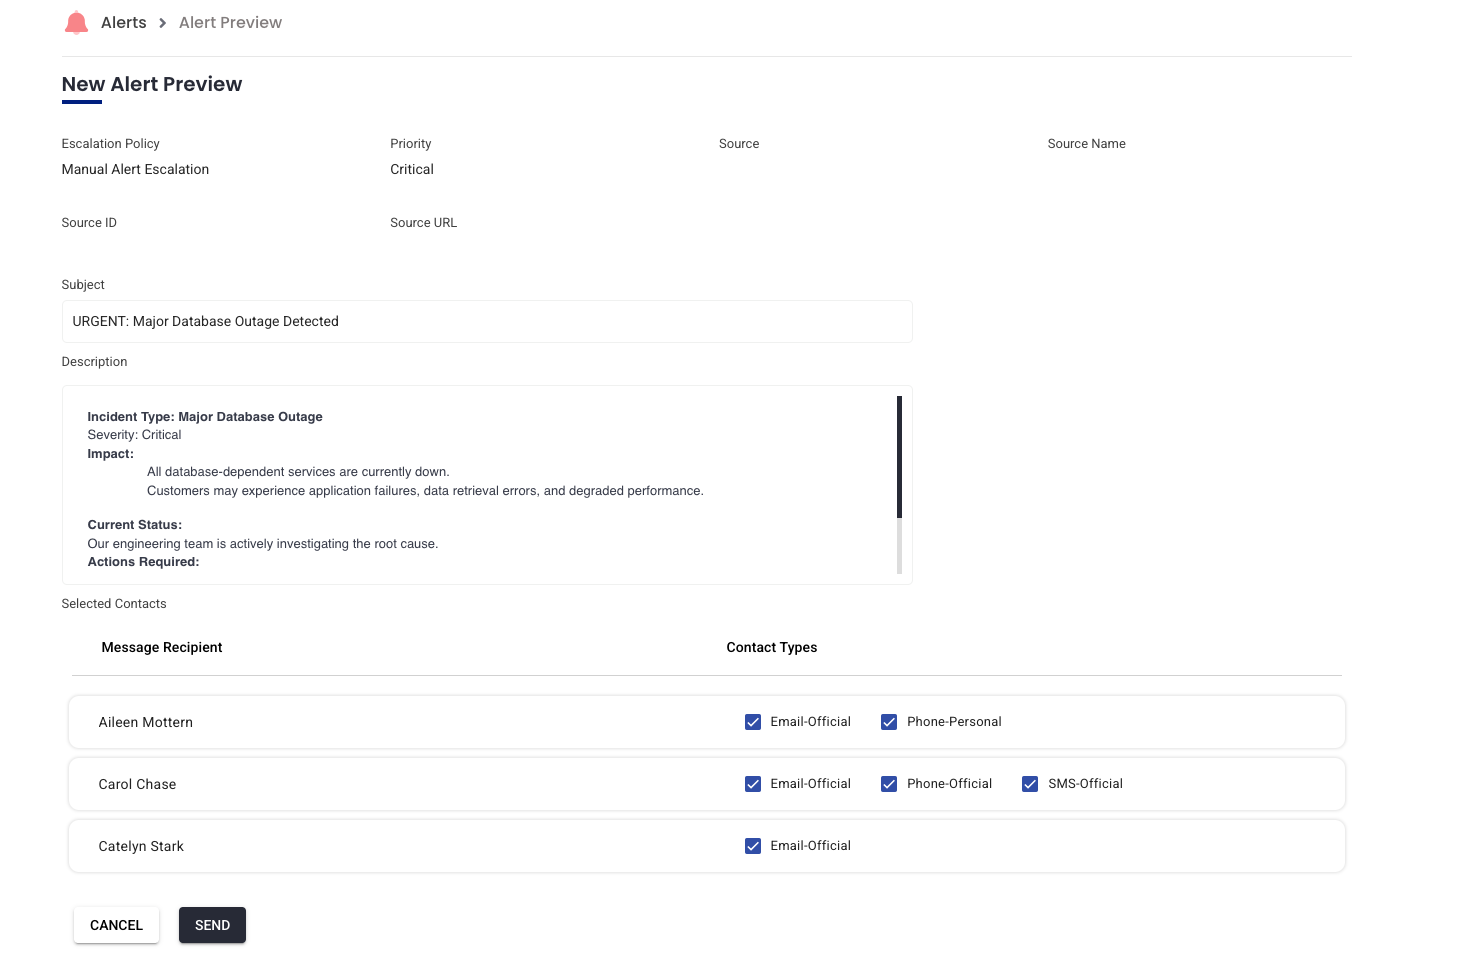
3. Preview Before Sending
- Click Preview to verify recipients and their contact methods.
- You can disable specific channels (e.g., SMS or voice) by unchecking them here.
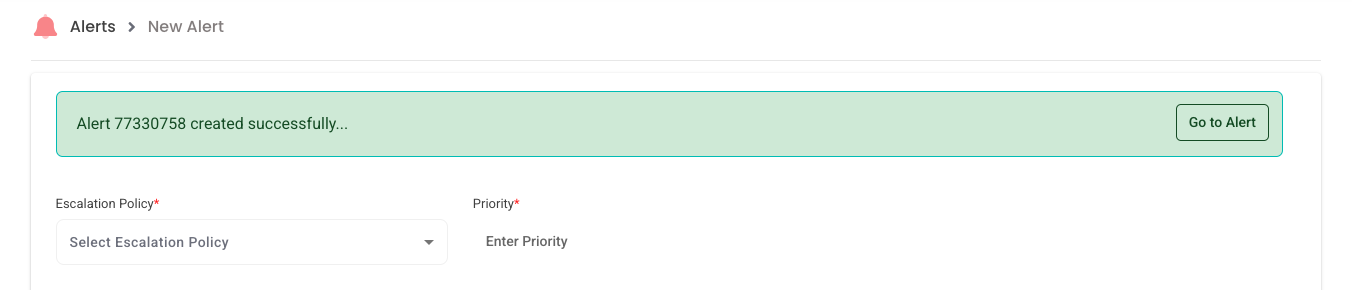
4. Send the Alert
- Hit the Send button to dispatch the alert immediately. After sending, AlertOps will start its escalation path if the alert remains unacknowledged.
Why Use Topics (Templates)?
- Speed: Pre-loaded templates expedite alert creation.
- Consistency: Enforce standard messaging for different incident types.
- Routing: Topics can include configured recipient groups.
- Analytics: Automatically tagged for reporting and workflows.
What Happens After Sending?
AlertOps maintains accountability by tracking the manual alerts within the Alert Page which you can access as soon as you send the alert.
From here you will be able to track:
- Who was notified
- Which notification channels were used
- Escalation events
- Acknowledgments and resolutions
Responding to Manual Alerts
Depending on the channel (web app, email, phone, SMS, mobile app), users can take several actions:
- Acknowledge — Marks receipt, but does not stop escalation.
- Assign — Takes ownership, stopping escalation and optionally triggering follow-up tasks.
- Escalate — Advances alert to next escalation level.
- Close — Marks the incident as resolved.
In phone calls, pressing specific keys (e.g., 7 = acknowledge, 8 = assign, 9 = close)
Best Practices
| Recommendation | Benefit |
|---|---|
| Use Topics tailored to incident type | Speeds drafting and ensures consistent messaging |
| Keep recipient lists tight | Avoid alert fatigue by only notifying relevant parties |
| Leverage escalation policies | Alerts persist until someone acknowledges or resolves them |
| Review post-incident reports | Use template tags and audit logs to analyze performance |
Example Flow
A lead technician notices a database failure.
- They open Manual Alert, choose the “Database Down” topic.
- The topic auto-selects the DBA team.
- They enter the subject and description, preview the recipients, then send.
- Alerts are sent via SMS and push; on-call engineer acknowledges through the mobile app.
- Incident is assigned, escalations are halted, and resolution is logged.
- Later, the team uses the tagged topic in reports to assess MTTR.
Related Articles
- Escalation Policies & Message Actions — define how alerts persist, escalate or permit responses.
- Topics — templates that streamline message content and routing.
Was this article helpful?