Billing Administration and Subscription
- 21 Oct 2024
- 3 Minutes to read
- Print
- DarkLight
- PDF
Billing Administration and Subscription
- Updated on 21 Oct 2024
- 3 Minutes to read
- Print
- DarkLight
- PDF
Article summary
Did you find this summary helpful?
Thank you for your feedback!
AlertOps provides exclusive access to billing administration and subscription options for the account owner and a designated billing admin user. A billing administrator is responsible for managing billing details, such as payment updates, viewing subscription plans, generating invoices, and handling billing inquiries. This user role does not consume a User license and is limited to Account Settings in the UI, without alert creation or response capabilities.
Create the Billing Admin User
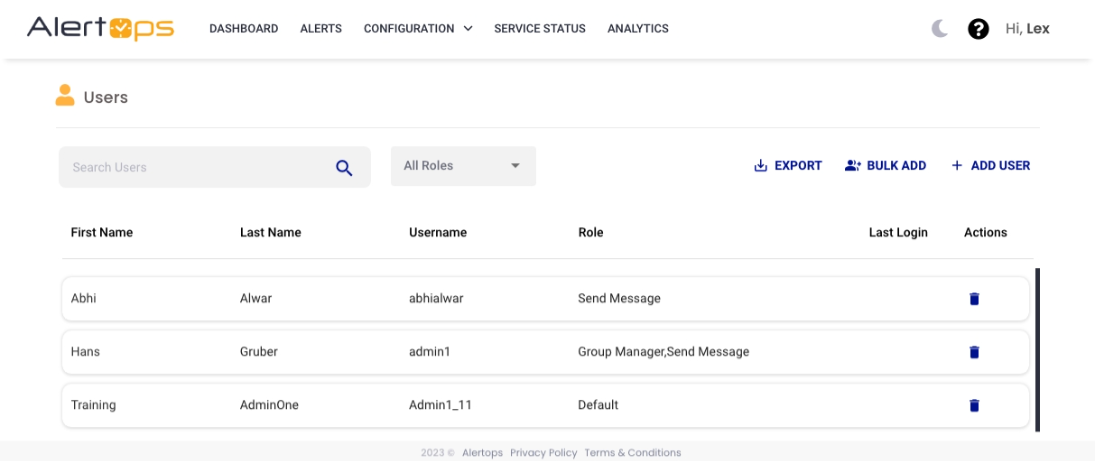
- In the menu bar, click on Configuration and select Users.
- Click on Add User in the top right corner.
- Enter a Login User Name and Official Email for the user. Then, enter the First Name and Last Name.
- Select the Billing Admin Type. The Role will automatically change to Billing Admin.
- Click Submit to save.
.png)
Subscription Selection
Upon the billing admin's first login, AlertOps presents the subscription page for trial customers. The initial step is to choose the preferred AlertOps package.
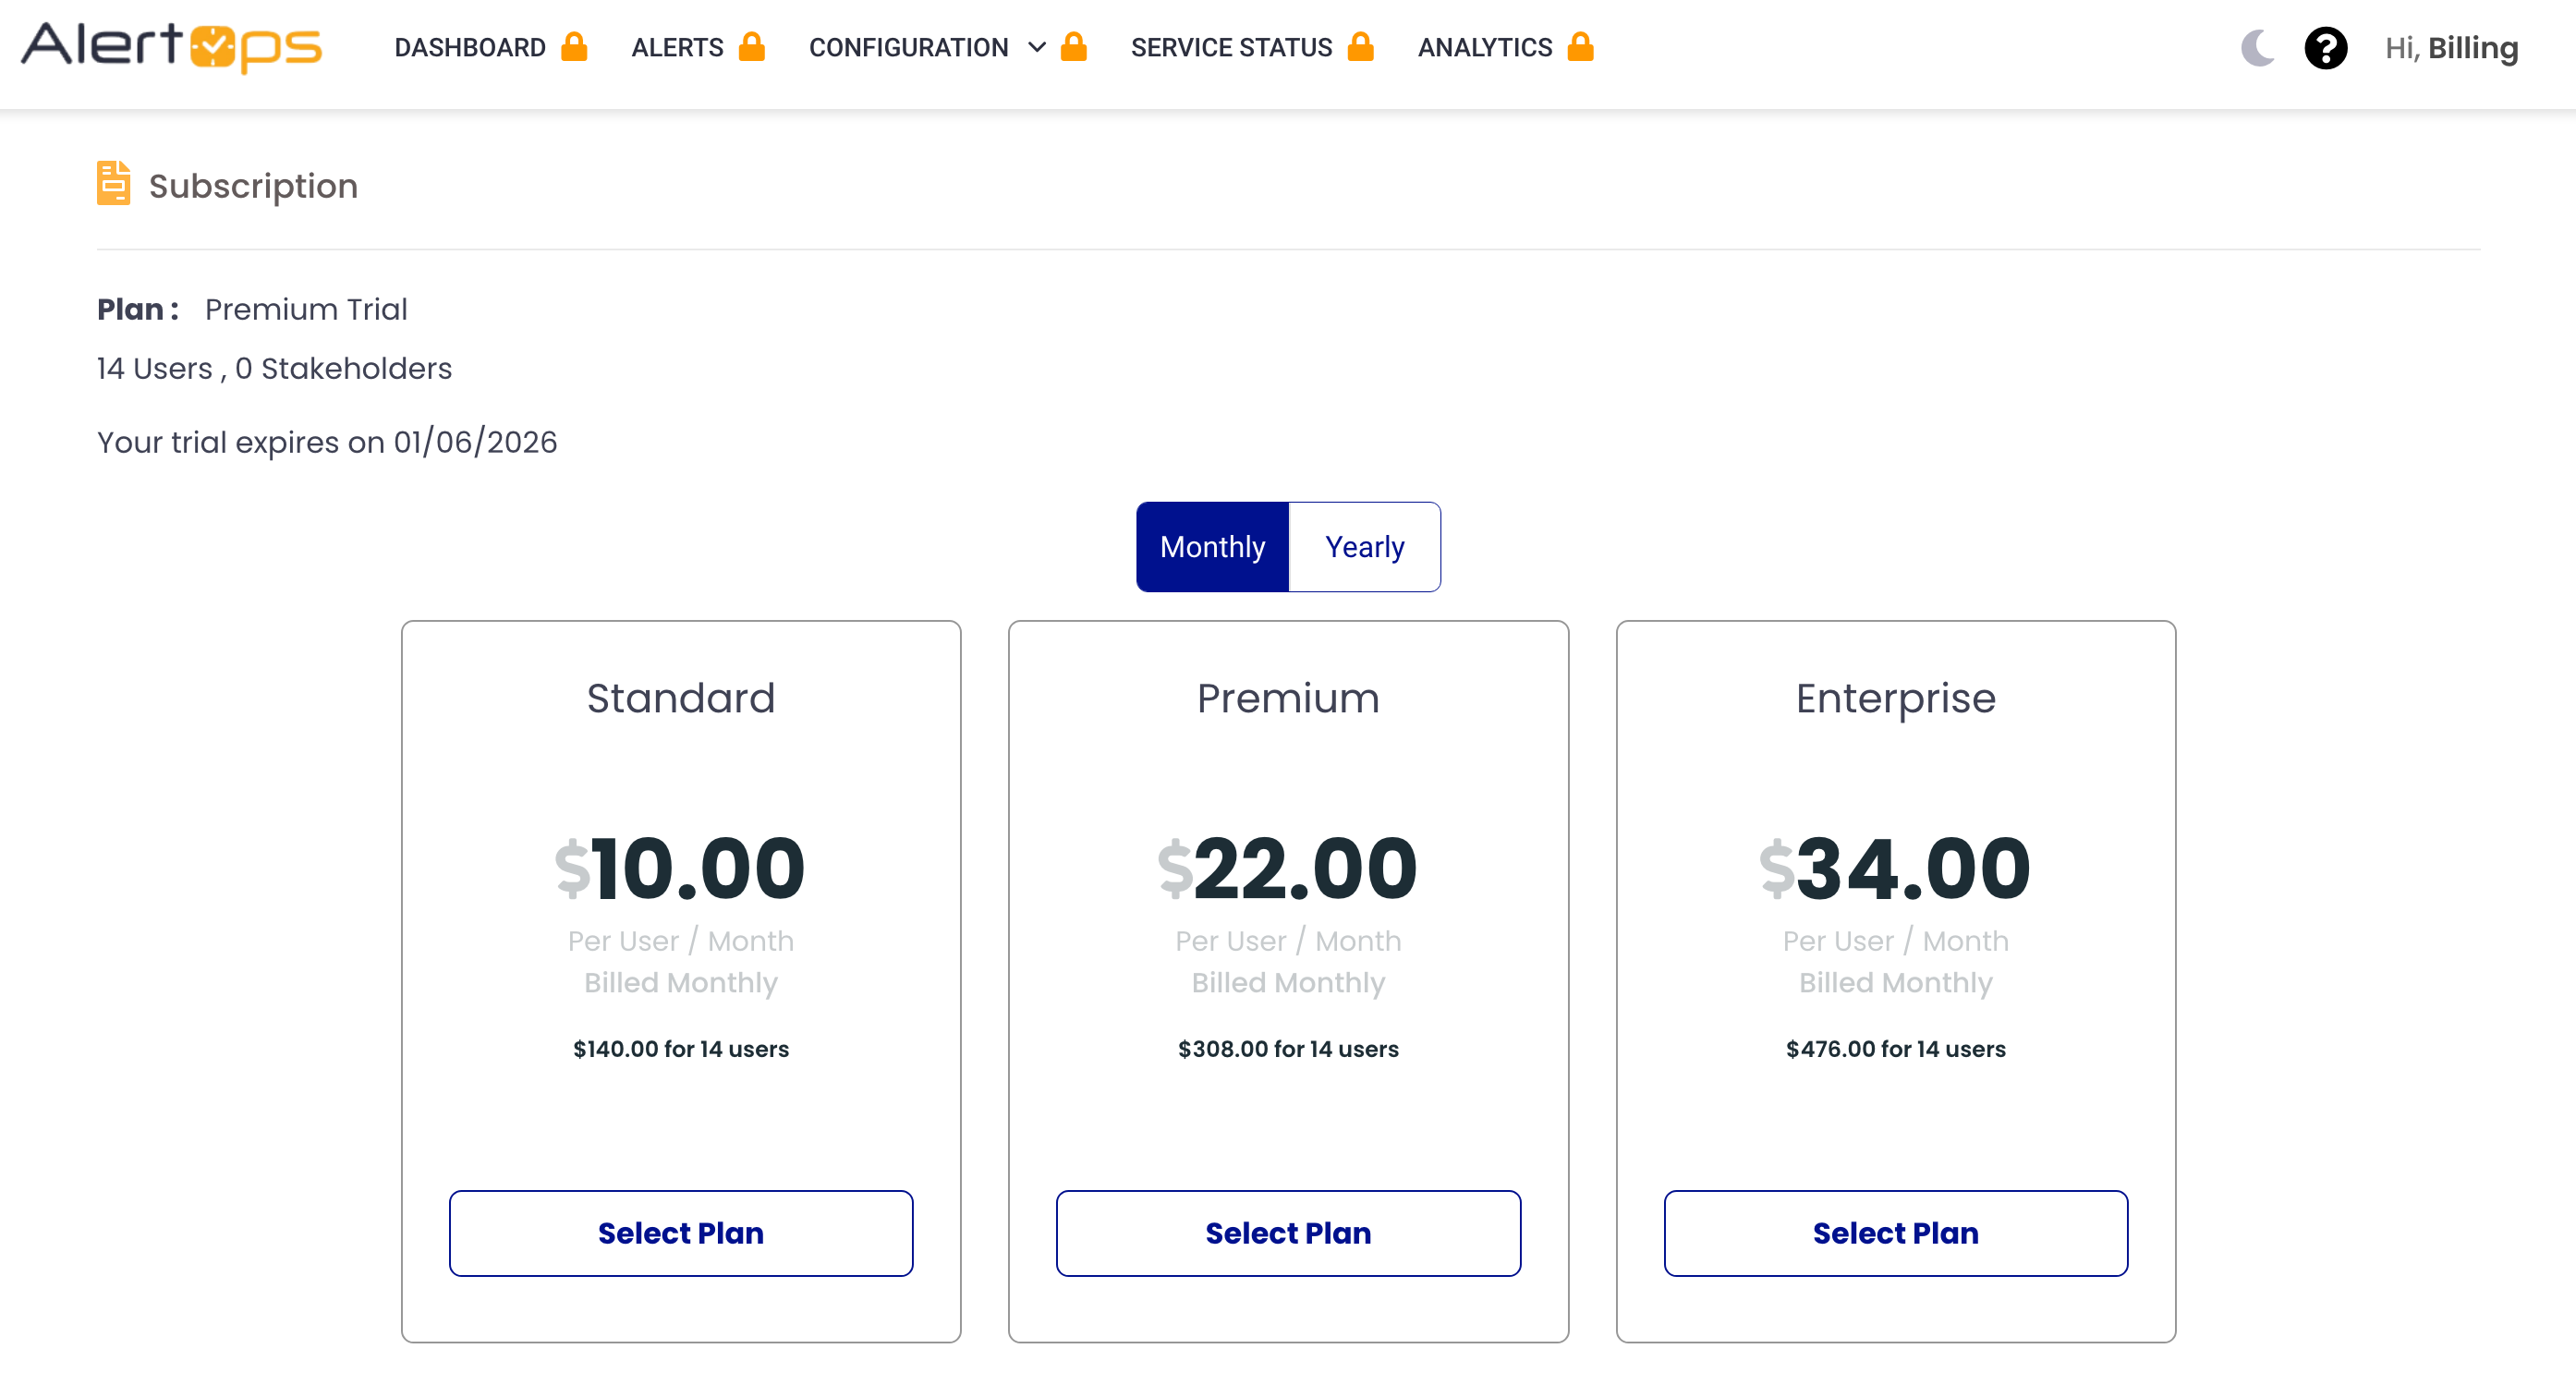
For trial accounts, when making the determination about packages check the Account Settings page to confirm which package you have used during your trial period.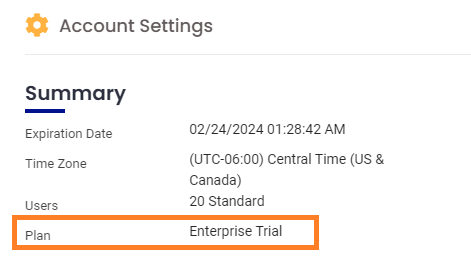
More information on AlertOps Package features can be found here.
Live Call Routing Subscription Add-On
You must contact AlertOps Support at support@alertops.com to have a Live Call Routing phone number provisioned.
Once support has provisioned your number, you will have access to the Call Routing page found under the Configuration menu.
The provision granted by support is temporary and will only last until your next pay cycle. If you would like to maintain access to this feature, ensure that the Account Owner or Billing Admin upgrades your account by visiting the Subscription page.
When call routing is provisioned, Account Owners and Billing Admins will have access to the following Call Routing Add-on options from the subscription page. Account owners need to add this free upgrade to maintain access to call routing.
Note: The call routing feature is an add-on for our premium and enterprise packages.
- One US/Canada line is included.
- Additional US/Canada lines are $10/mo.
- Any International lines are $10/mo.
- The first 100 US/Canada call minutes are free per month (All US lines combined).
- Any additional US/Canada minutes are charged at $0.10/minute.
- International minutes are charged at $0.35/minute.
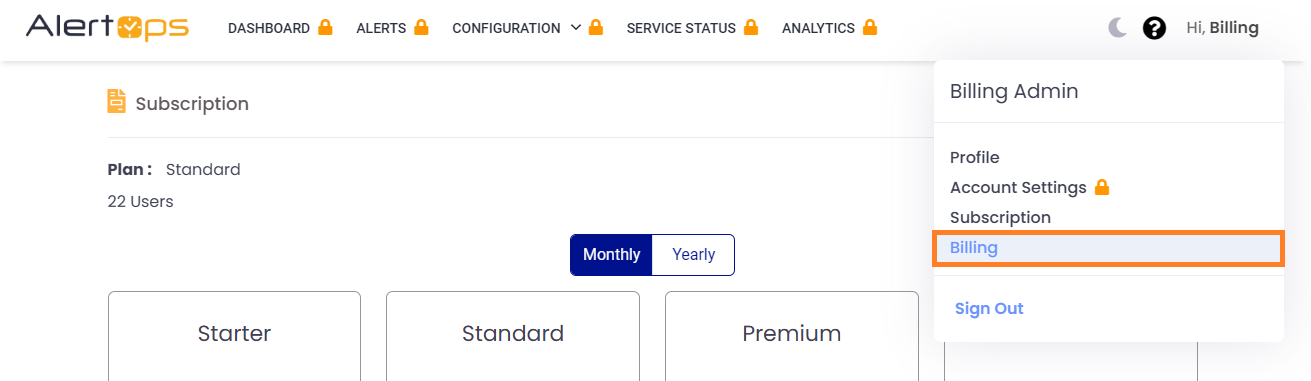
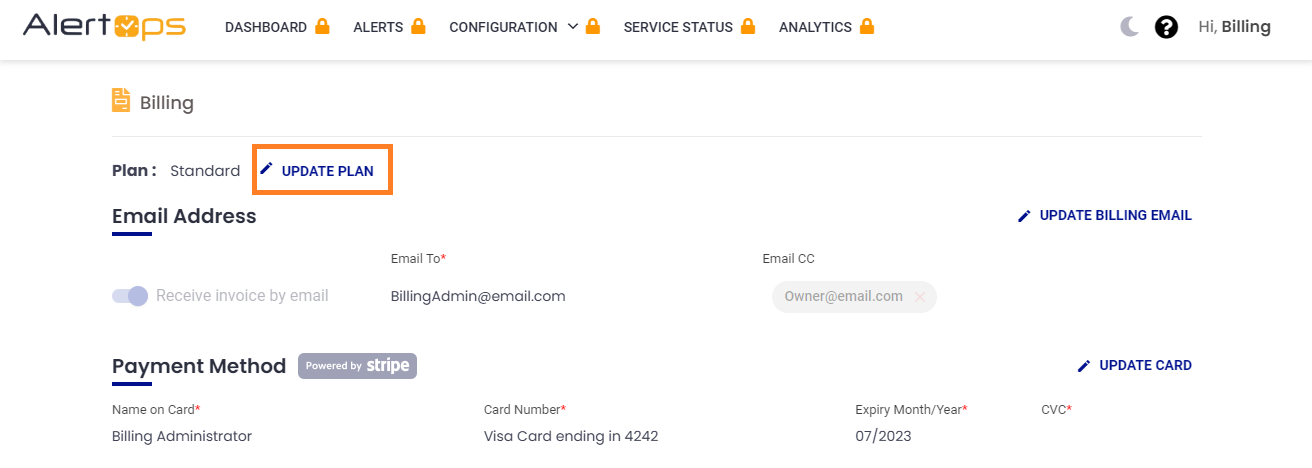
Billing Page
After making your selection, you will be directed to the billing page to provide your credentials, address, and payment details.
.png)
You can access the billing page at any time through the user profile page:
Update Subscription
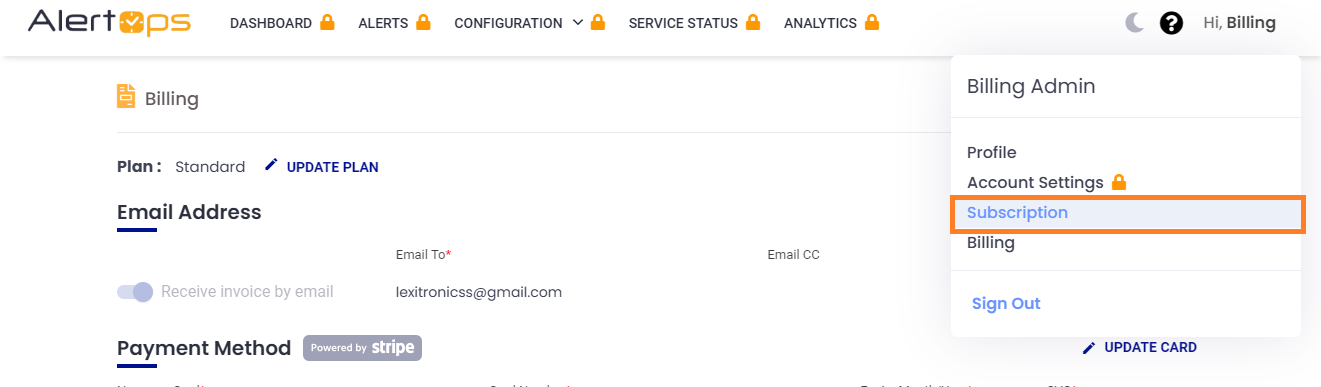
Access subscription options from the "Update Plan" button on the billing page or from the user profile menu. From there, you can easily upgrade or downgrade your plan.
Invoice History
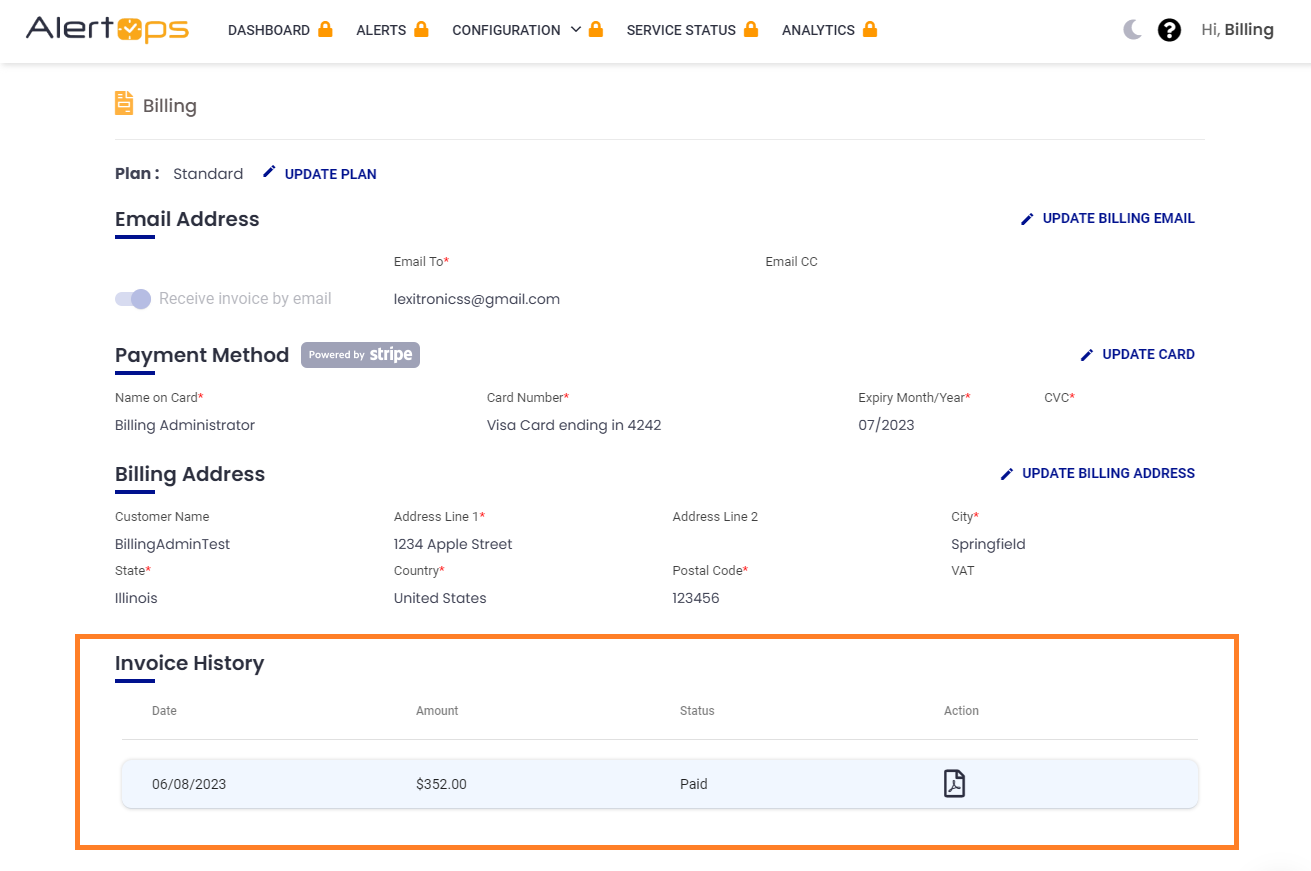
Emailed Invoices
Billing Admins can access their monthly or annual bills in the invoice history section of the billing page as well as choose to receive them via email.
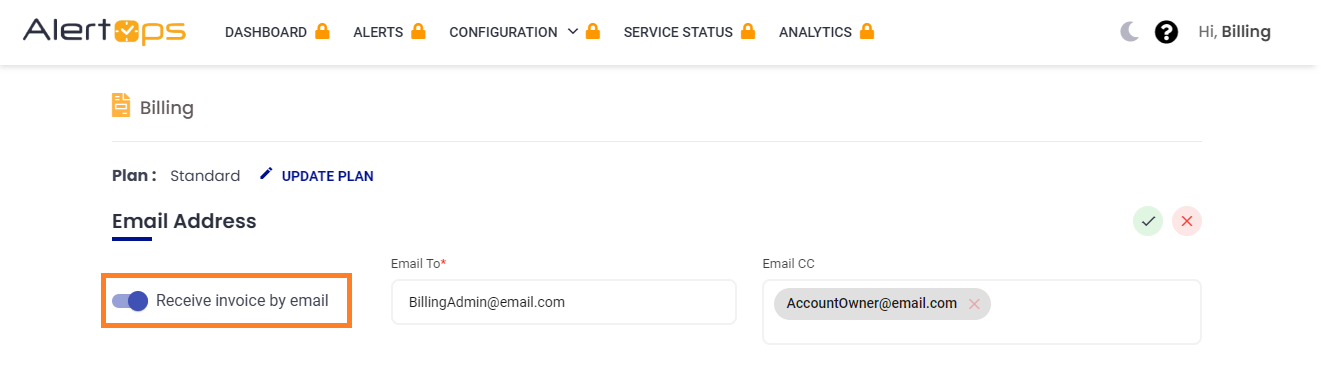
To receive invoices by email:
- Click Update Billing Email in the top right corner.
- Toggle on Receive invoice by email.
- Add a main recipient to the Email To line.
- You can add additional emails to the Email CC text area.
- Click the green check mark to save.
Additional User Billing
Account Owner and App Admins can view the highest number of users in your account for the month by clicking the welcome message in the top right corner and clicking Account Settings.
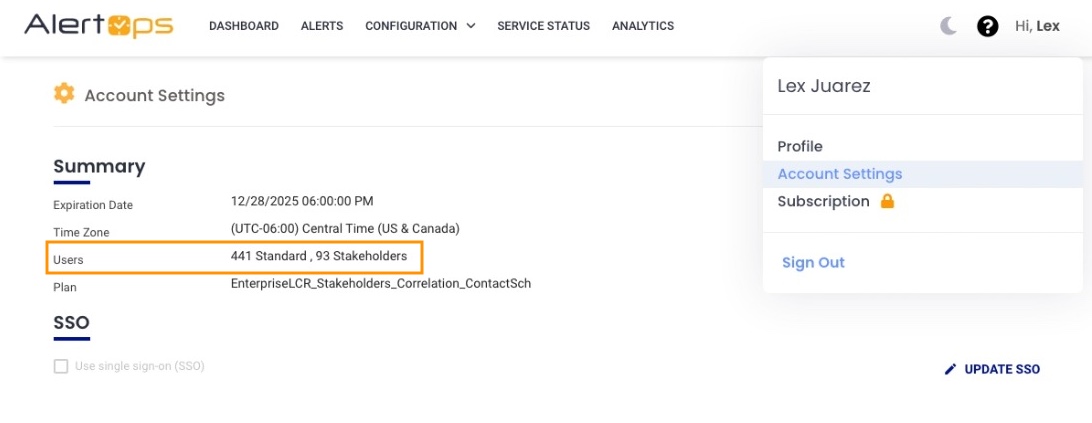
Additional Monthly User Charges:
It is important to note that your monthly user charge is determined by the number of unique users in your environment each month. Additional users added to the account will be priced based on plan and tier.
It is recommended to remove any users you do not need/want before you make any additions to avoid any additional charges.
Additional Annual User Charges:
For annually charged customers additional users will be prorated based on when your annual subscription ends.
Adding/Removing User Licenses
The number of users you currently have can be found in your AlertOps environment by going to Configuration>Users.
Here, account owners and app admins can add additional users by clicking the + Add User button.
To delete a user, click the trashcan icon next to the user you wish to delete. If the trash icon is greyed out, ensure the user is first removed from any shifts.
To place restrictions on the +Add Users feature, contact support at Support@AlertOps.com.
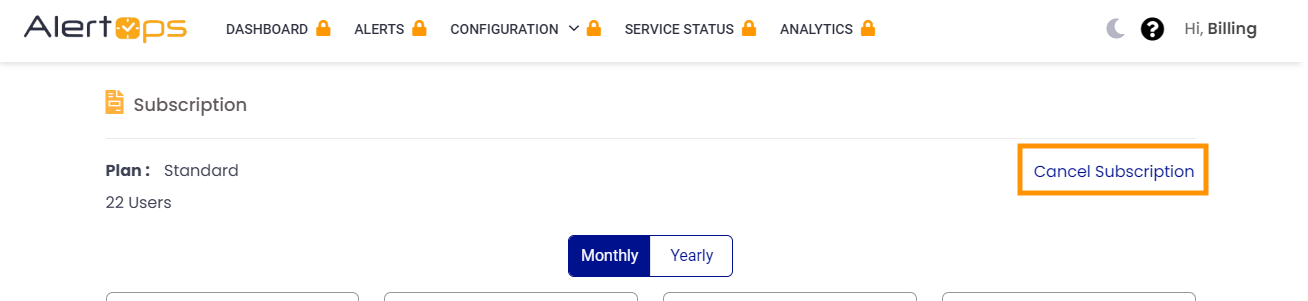
Cancel AlertOps Subscription
To cancel your AlertOps account entirely, visit the subscription page and click the "Cancel Subscription" button in the top right corner.
Was this article helpful?