AD FS Management SSO
- 20 Mar 2023
- 1 Minute to read
- Print
- DarkLight
- PDF
AD FS Management SSO
- Updated on 20 Mar 2023
- 1 Minute to read
- Print
- DarkLight
- PDF
Article summary
Did you find this summary helpful?
Thank you for your feedback!
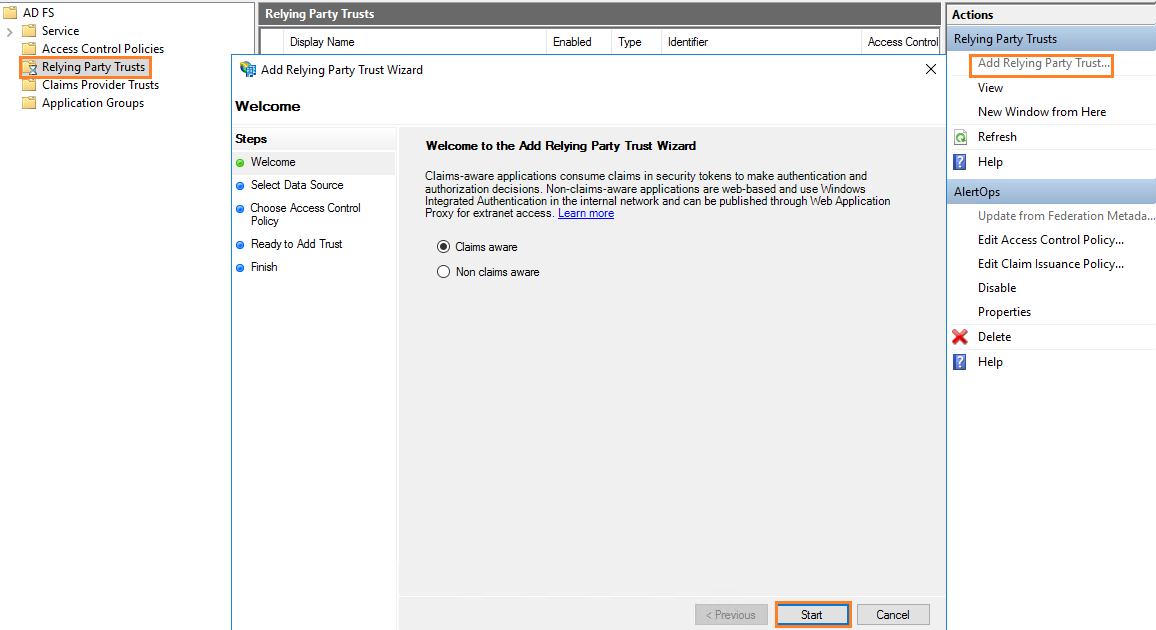
Open your AD FS Management Tool.
Configure Relying Party Trust.
- Click on Relying Party Trusts and then click on Add Relying Party Trust from Actions. Click Start to configure.
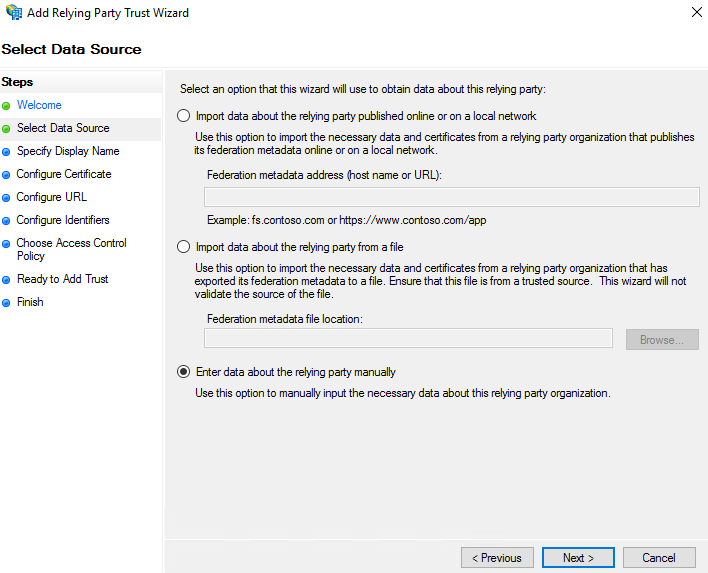
- From Select Data Source, choose Enter data about the relying party manually option and click Next.
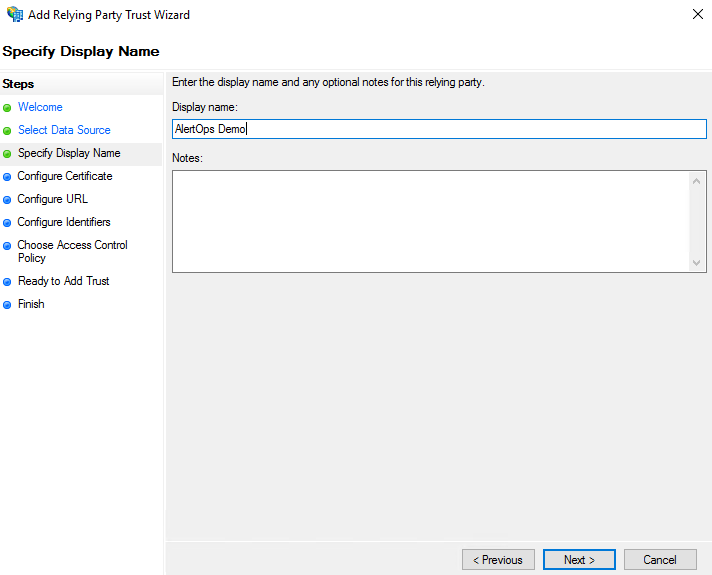
- From Specify Display Name, enter a Display name and click Next.
- From Configure Certificate, leave as it is and click Next.

- From Configure URL:
- Select Enable support for the SAML 2.0 Web SSO protocol
- For Relying party SAML 2.0 SSO service URL, paste your AlertOps domain URL.
- https://app.alertops.com/yourorg
- Replace "yourorg" with your respective AlertOps domain/account.
.png)
- From Configure Identifiers:
- For Relying party trust identifier, paste your AlertOps domain URL and then click the Add button.
- https://app.alertops.com/yourorg
- Please replace "yourorg" with your respective AlertOps domain/account.
- Then click Next.
.png)
- For Relying party trust identifier, paste your AlertOps domain URL and then click the Add button.
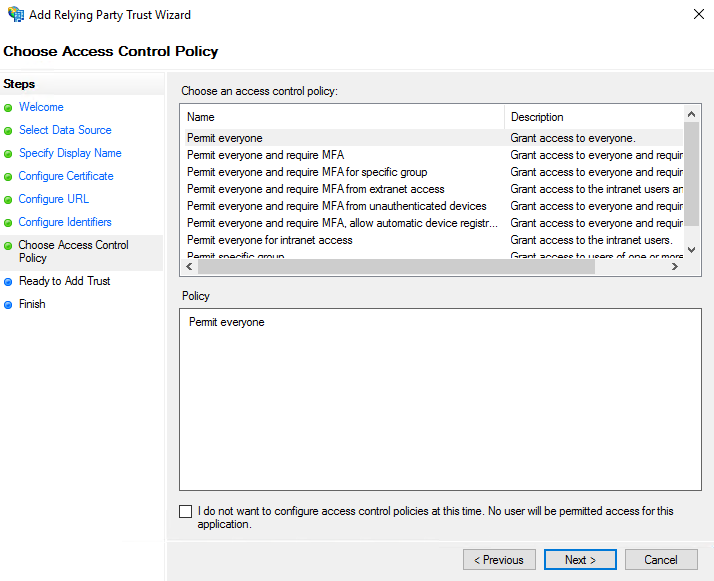
- From Choose Access Control Policy, Permit everyone and leave as it is then click Next.
- From Ready to Add Trust, review your settings and click Next.
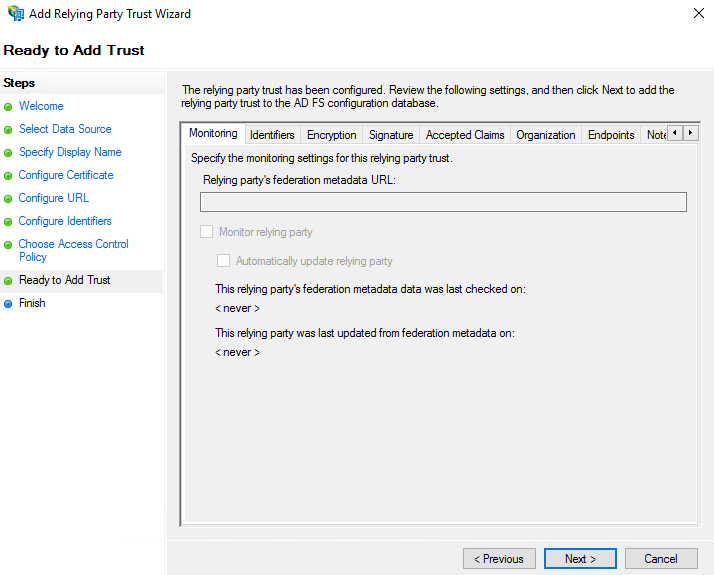
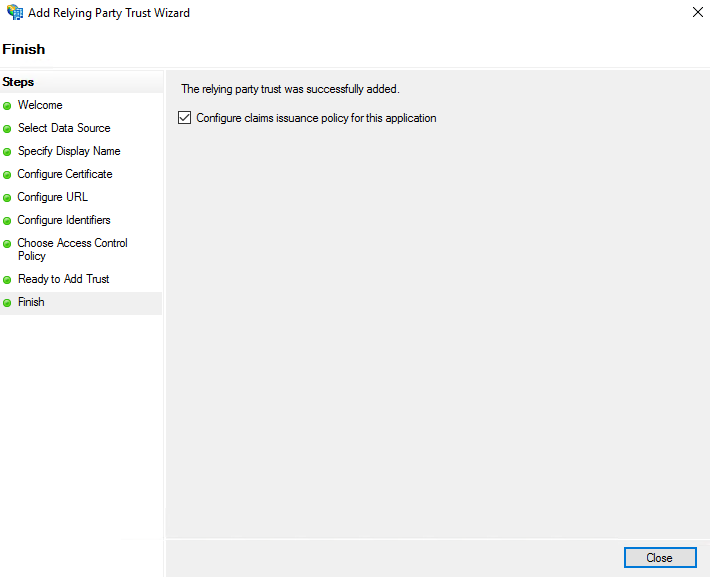
- Finish. On successful message click Close.
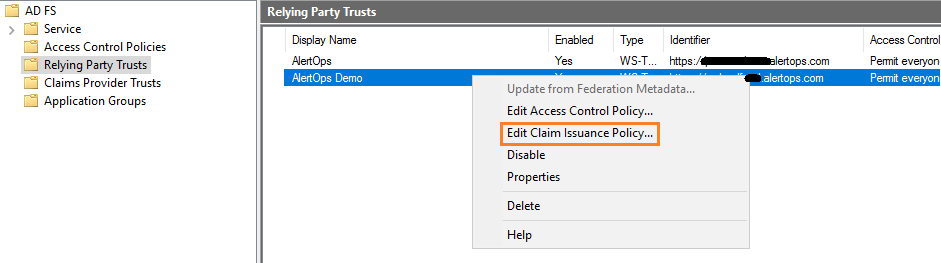
Configure Claims Issuance Policy
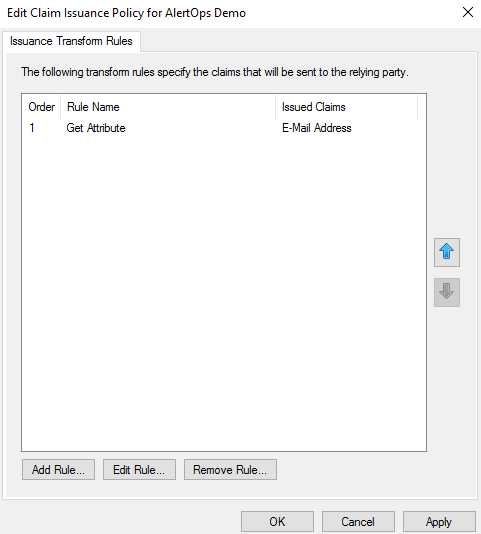
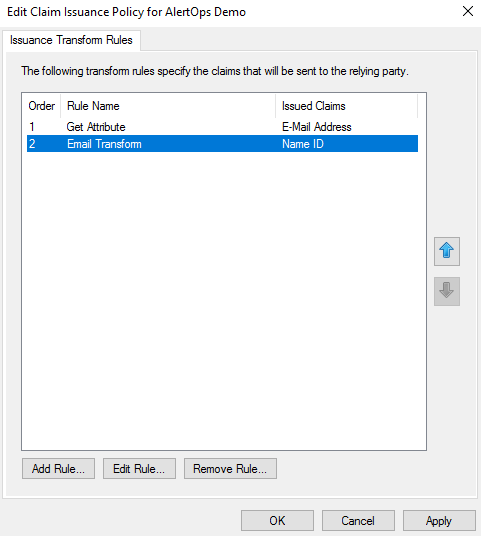
- Go to Relying Party Trusts and right click on the trust you just created and click Edit Claim Issuance Policy.
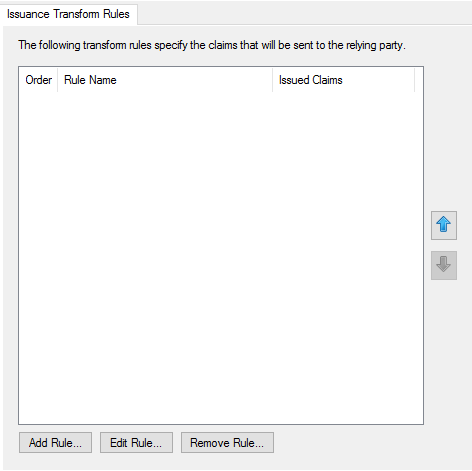
- In the Issuance Transform Rules dialog, click Add Rule.
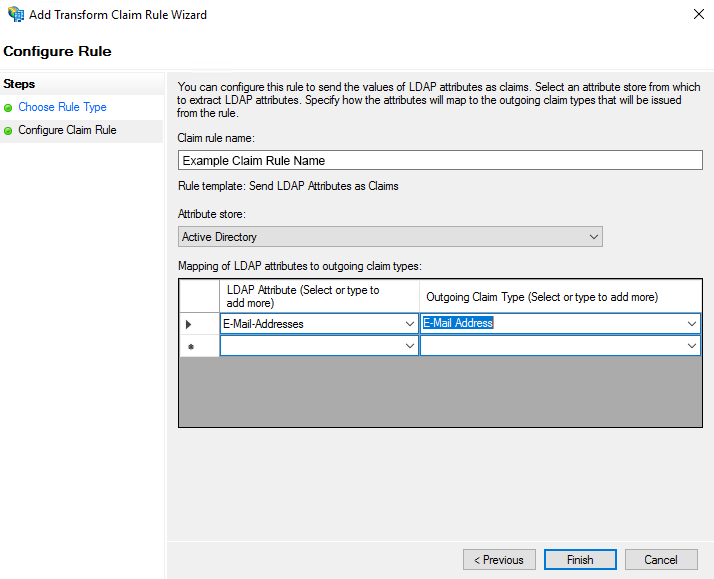
- From the Select Rule Template screen, select Send LDAP Attributes as Claims as Claim rule template and click Next.
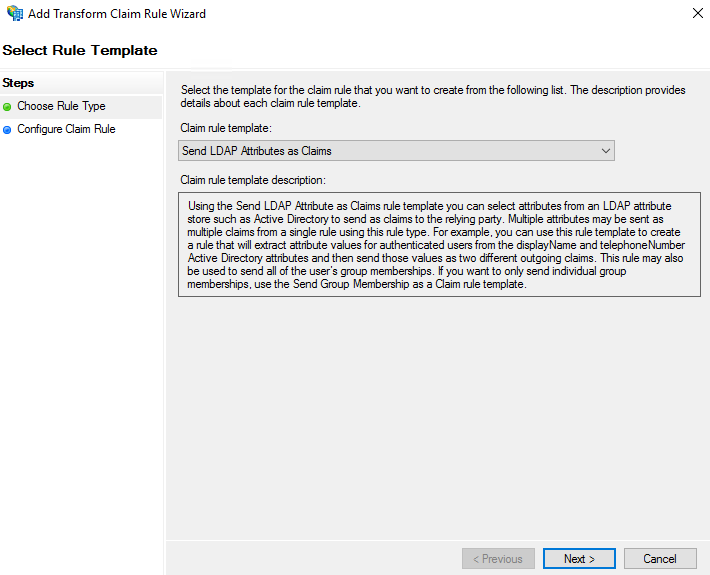
- From the Configure Rule screen:
- Give a Claim rule name.
- Select Active Directory from Attribute Store.
- Under Mapping select E-mail Address on both LDAP Attribute and Outgoing Claim type
- Click Finish.
- Once the first rule is completed, click Add Rule again.
- From the Select Rule Template screen, select Transform an Incoming Claim as Claim rule template and click Next.
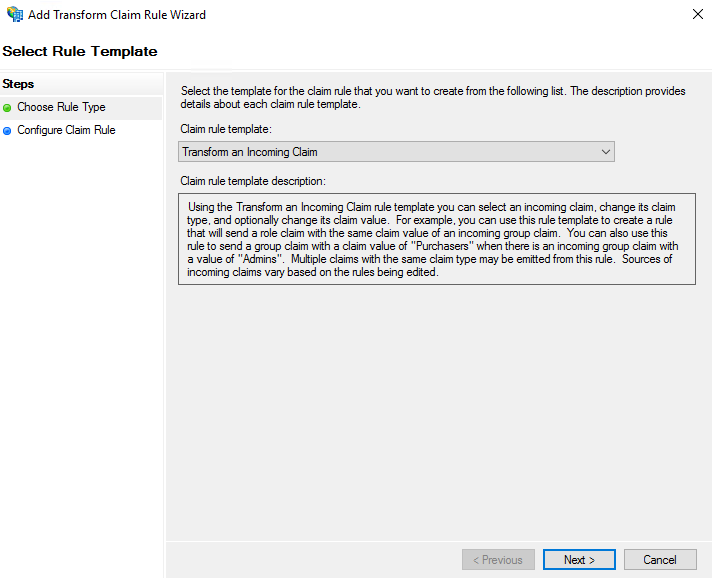
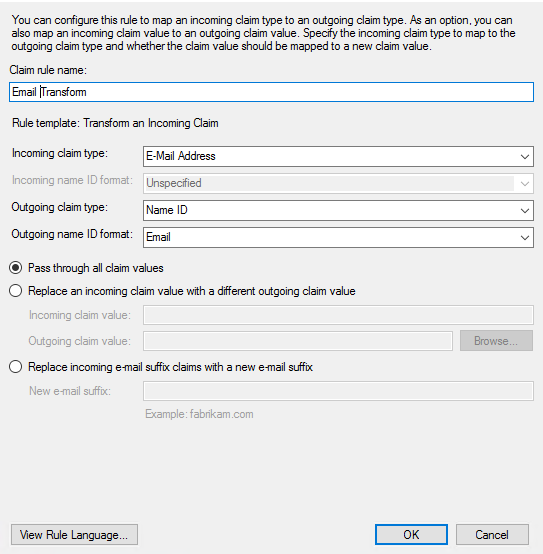
- Configure Rule:
- Give a Claim rule name.
- Select E-Mail Address as Incoming claim type.
- Select Name ID as Outgoing claim type.
- Select Email as Outgoing name ID format.
- Choose Pass through all claim values.
- Click OK.
- Click Apply and OK. Please note that the order of these Rules is important.
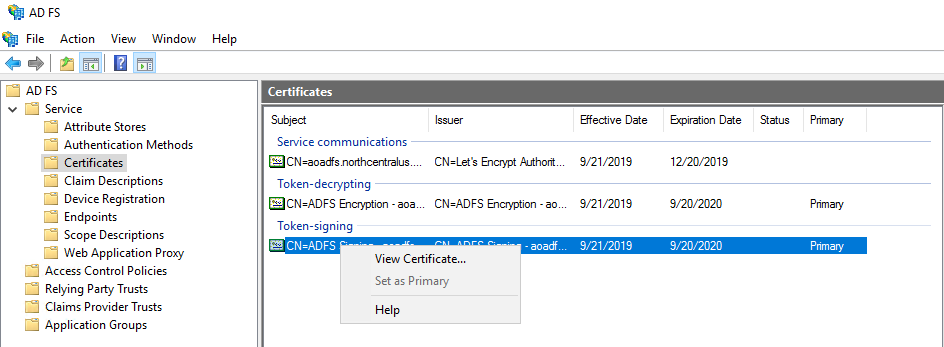
Get the Certificate
- Go to Certificates in Service, right click on the Token-signing certificate and click View Certificate.
- Click Copy to File and click OK.
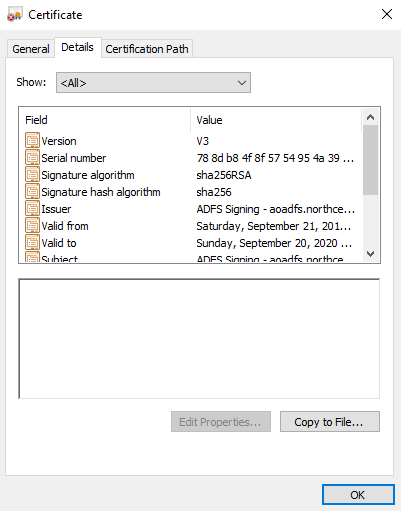
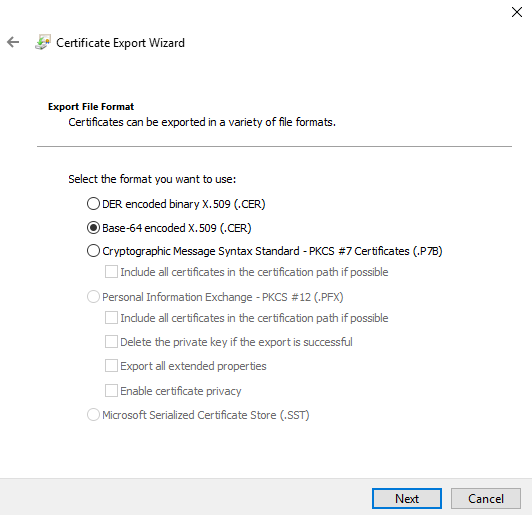
- Choose Base-64 encoded x.509 (.CER) and click Next.
- Browse the desired location and click Next.
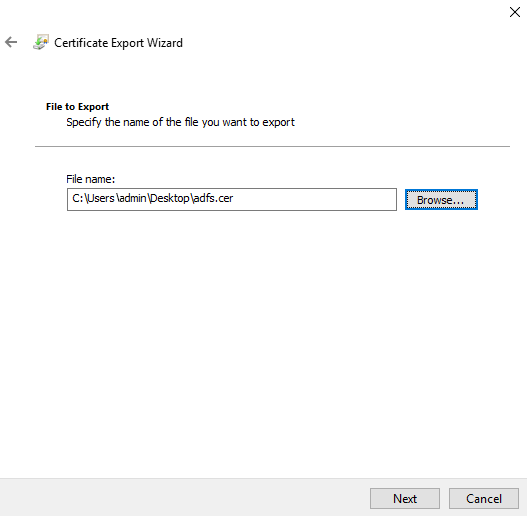
- You should see the successful export of the certificate and click Finish.

SSO configuration in AlertOps
- Go to Account Settings in Alertops and then click Update SSO.
- Enable Use Single Sign-On (SSO), then edit the following settings:
- Issuer URL: https://app.alertops.com/yourorg (replace "yourorg" with your AlertOps domain)
- SAML endpoint URL: AD FS URL
- https://ADFSaccount.com/adfs/ls
- (ADFSaccount.com is SAML 2.0/W-Federation' URL in the ADFS Endpoints)
- SAML Signature Algorithm: SHA256
- X 509 Certificate: copy/paste the certificate you downloaded previously
.png)
Was this article helpful?